Roman Blind DIY Tutorial
I've always loved the look of a roman blind, but have never taken the time to tackle one. For our ensuite bathroom, it was the perfect solution since I hadn't installed any blinds since replacing the windows.
There are a lot of tutorials floating around on Pinterest. I combined a number of them into one that suited my sewing style, as well as the look I wanted.
First, I measured and cut the fabric and lining square...


Next, sew them right sides together nearly all the way around - leave a small opening so that you can then turn the blind right side out.
Once it's all right side out, sew up the opening as close to the edge as possible. I placed the sewed-up edge on the top of the blind, as it was wrapped around the wood top later on, and thus never visible.
Give the blind a good press, making sure the lining is pressed towards the inside.
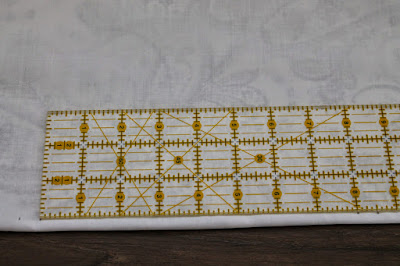
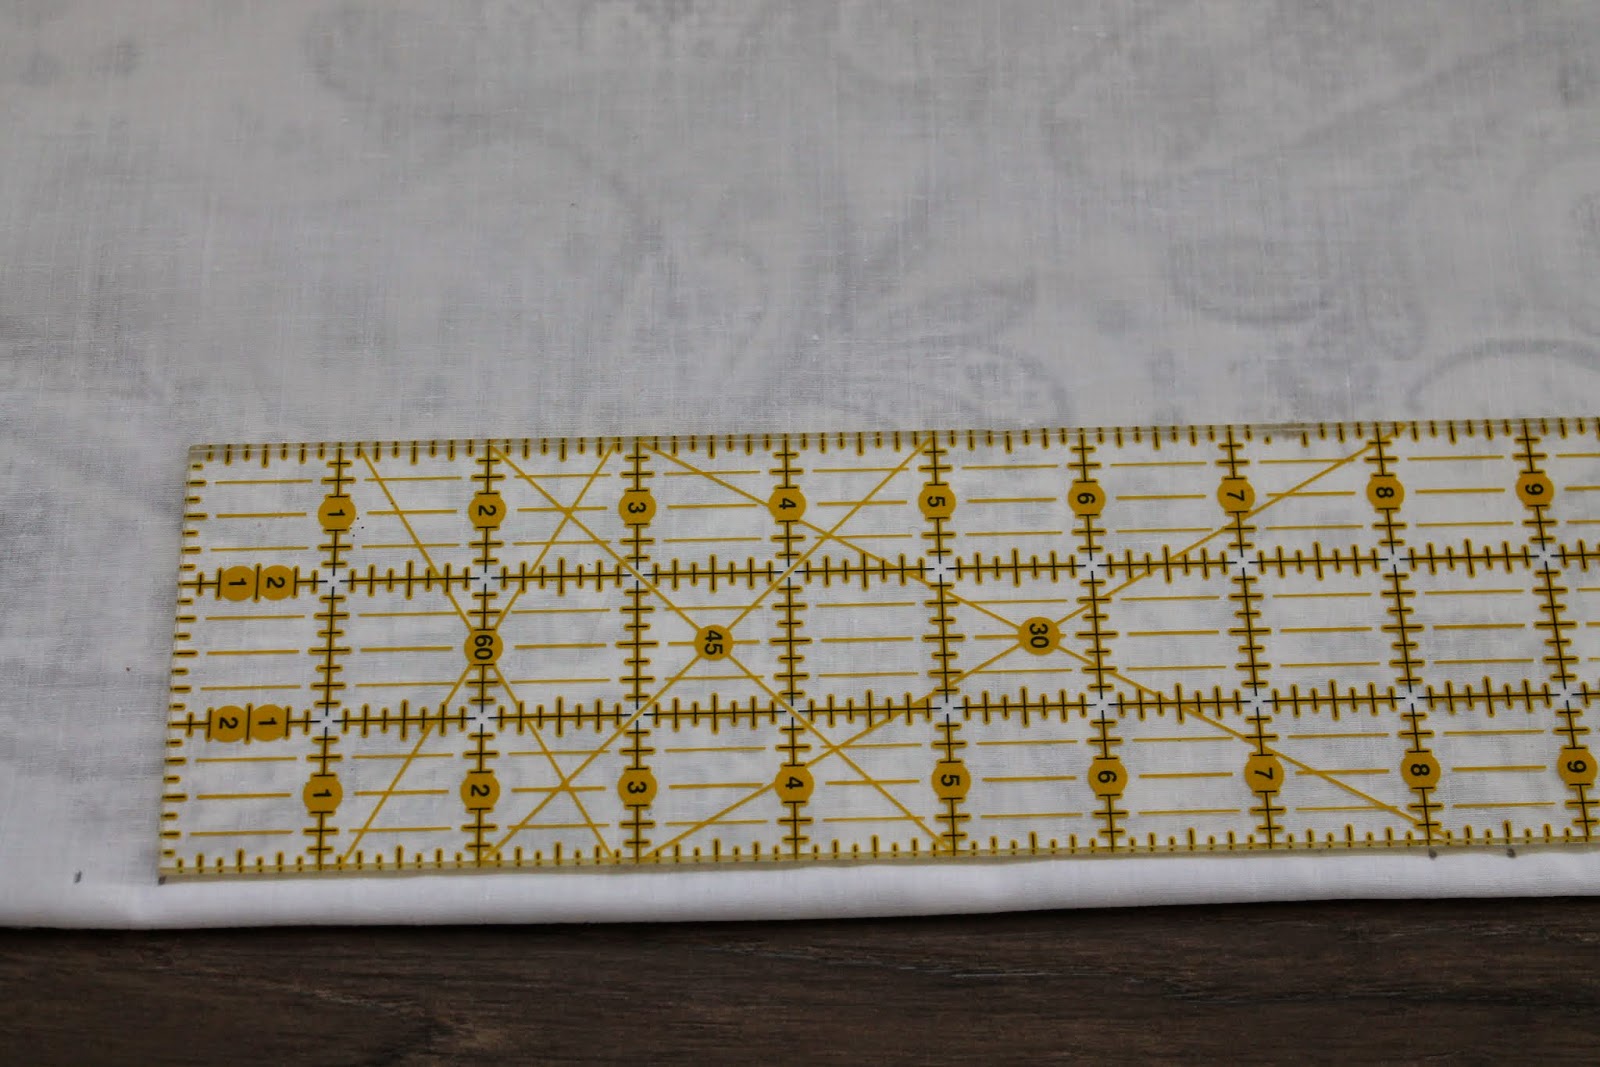
Now, for the rings, I had 4 rows and spaced them 8" apart (thus giving a 4" fold when the blind is pulled open). I marked the row 1/2" to make a seam allowance for the rings to attach to.
At this point, a MiniMan usually attempts to get my attention...

It is definitely not easy sewing with toddlers around! But, I usually find I'm too tired in the evenings, so I attempt craziness during the day.
Whatever works for you!
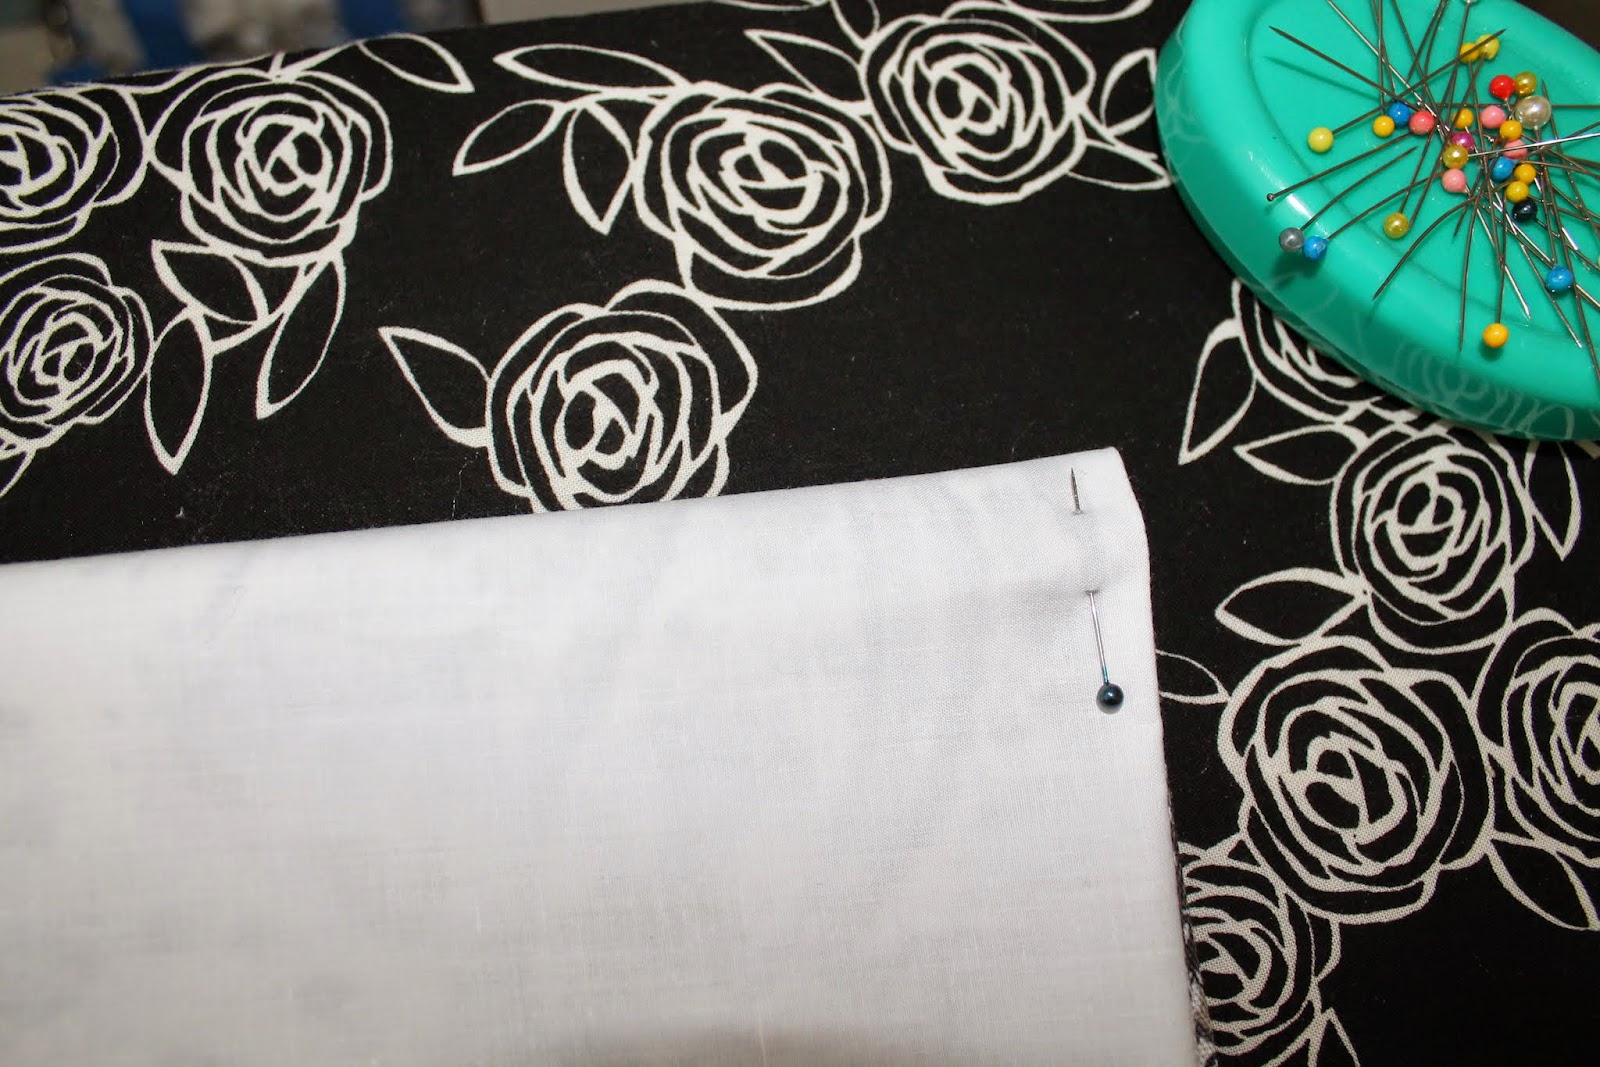
Back to the blind...to create the rows, use a pin to match the 1/2" marks to create a seam, and pin together

Fold the pinned seam over and give it a quick press

Next, sew a 1/4" seam through all layers, creating a seam to attach the rings to

Coffee break, Mom?

One for me, one for you! Start 'em young...shh...don't tell their dad I'm encouraging them to adopt my love of caffeine!

Your blind will look like this when you're finished sewing all of your seams

And the front

Now, at this point I changed my mind about sewing seams along the whole blind. It wasn't going to hold straight; rather, it would be floppy, especially on the ends.
So, I decided to add a pocket for a dowel instead on the bottom row


Just take a strip of fabric, press a 1/4" hem on each end and side, and attach it to the blind by sewing through all layers on each edge.
I used a 3/8" dowel - super cheap at our local hardware store, and very easy to cut to size with just a hand saw
At my request, Carl cut a strip of 5/8" plywood to create the top of my blind.
The next step isn't absolutely necessary, but it gives it a finished look - using a staple gun, cover both ends of the strip with scrap fabric

Then, attach the top edge of the blind to the strip, stapling it along the edge

Wrap it around again, and there is your finished blind top!

Screw in a few eye hooks - it's important to have one on one edge, otherwise the strings will pull diagonally. I have 3 hooks for the length of my blind

Then, hand sew on the rings on the seam allowances, lining them up with the same spacing as the eye hooks at the top


I used 2 screws to attach it to the upper frame of my window, and then attached a simple cleat, which can be found at Home Depot

Yes, I slipped with the drill and dented my brand new trim! I still need to fill that ding and re-paint it. One day...
I'm so pleased with how this blind turned out! It's one of the more difficult window treatments I've done, but more time consuming than difficult. Lots of measuring (which isn't my strong suit!) - but once I figured everything out, it came together very quickly.

The lighting is difficult to work with when photographing windows, but you get the idea!

Voila! The bottom dowel holds all of the other seams straight. So pleased with how it turned out!
Alicia
There are a lot of tutorials floating around on Pinterest. I combined a number of them into one that suited my sewing style, as well as the look I wanted.
First, I measured and cut the fabric and lining square...


Next, sew them right sides together nearly all the way around - leave a small opening so that you can then turn the blind right side out.
Once it's all right side out, sew up the opening as close to the edge as possible. I placed the sewed-up edge on the top of the blind, as it was wrapped around the wood top later on, and thus never visible.
Give the blind a good press, making sure the lining is pressed towards the inside.
Now, for the rings, I had 4 rows and spaced them 8" apart (thus giving a 4" fold when the blind is pulled open). I marked the row 1/2" to make a seam allowance for the rings to attach to.
At this point, a MiniMan usually attempts to get my attention...

It is definitely not easy sewing with toddlers around! But, I usually find I'm too tired in the evenings, so I attempt craziness during the day.
Whatever works for you!
Back to the blind...to create the rows, use a pin to match the 1/2" marks to create a seam, and pin together
Fold the pinned seam over and give it a quick press

Next, sew a 1/4" seam through all layers, creating a seam to attach the rings to

Coffee break, Mom?

One for me, one for you! Start 'em young...shh...don't tell their dad I'm encouraging them to adopt my love of caffeine!

Your blind will look like this when you're finished sewing all of your seams

And the front

Now, at this point I changed my mind about sewing seams along the whole blind. It wasn't going to hold straight; rather, it would be floppy, especially on the ends.
So, I decided to add a pocket for a dowel instead on the bottom row


Just take a strip of fabric, press a 1/4" hem on each end and side, and attach it to the blind by sewing through all layers on each edge.
I used a 3/8" dowel - super cheap at our local hardware store, and very easy to cut to size with just a hand saw
At my request, Carl cut a strip of 5/8" plywood to create the top of my blind.
The next step isn't absolutely necessary, but it gives it a finished look - using a staple gun, cover both ends of the strip with scrap fabric

Then, attach the top edge of the blind to the strip, stapling it along the edge

Wrap it around again, and there is your finished blind top!

Screw in a few eye hooks - it's important to have one on one edge, otherwise the strings will pull diagonally. I have 3 hooks for the length of my blind

Then, hand sew on the rings on the seam allowances, lining them up with the same spacing as the eye hooks at the top


I used 2 screws to attach it to the upper frame of my window, and then attached a simple cleat, which can be found at Home Depot

Yes, I slipped with the drill and dented my brand new trim! I still need to fill that ding and re-paint it. One day...
I'm so pleased with how this blind turned out! It's one of the more difficult window treatments I've done, but more time consuming than difficult. Lots of measuring (which isn't my strong suit!) - but once I figured everything out, it came together very quickly.

The lighting is difficult to work with when photographing windows, but you get the idea!

Voila! The bottom dowel holds all of the other seams straight. So pleased with how it turned out!
Alicia
This is my first time i visit here. I found so many interesting stuff in your blog especially its discussion. From the tons of comments on your articles, I guess I am not the only one having all the enjoyment here keep up the good work Roller blinds online
ReplyDelete