30 December 2015

DIY Deer Head Wall Art


17 November 2015


DIY Deer Head Wall Art


It was a rainy Friday a few weeks ago, and I had stocked up on a few supplies at JoAnn's Fabrics previously, so it was the perfect day to tackle a project!


Here's the supply list:

  • Artist's canvas
  • Linen fabric (mine was from Ikea)
  • Black felt
  • Deer head silhouette
  • Stabilizer (WunderUnder)
  • Sewing machine, thread, scissors, iron
I obtained the deer head silhouette from a google search, and printed it on a regular 8-1/2x11" sheet o paper. Then, I traced the pattern onto the WunderUnder


Next, I cut out the pattern using regular paper scissors.


And ironed it onto the black felt


I used fabric scissors to cut the pattern out of the black felt


And peeled off the paper from the stabilizer


At this point, I realized that I should've traced the pattern onto the wrong side of the WonderUnder, as now my final product was going to be reversed. I was okay with it facing the opposite way, but if I were doing letters it would've needed to have been a mirror image.

I centred the deer head onto the linen fabric and fused the fabrics together by ironing them


We then headed downstairs to my sewing machine and did a blanket stitch around all of the body and head edges. Along the antlers, I just did a straight stitch in the middle.


Of course, I have an audience when I sew. This is MiniMan's latest pose! I love that he set up his friends to join the audience.


Apparently I stopped taking pictures of the process at this point!

But, to finish, I simply wrapped the linen around the canvas and stapled the back of the frame

And, here is my finish product, as part of my fall mantle display!


After fall, I think it might find a home in the boys' bedroom

So pleased with how easy the project was, and that I could complete it in one day!

Family Room Mantle

19 October 2015


Family Room Mantle


Here is a picture of our family room mantle decorated for Thanksgiving. Canadian Thanksgiving was last weekend, but I'll keep the display up until it's time to decorate for Christmas.

Carl installed the mantle a few months ago, but I'm finally sitting down to update the blog!

Here's where we started with it...


It amazes me every time I look back, just how huge the transformation is in this house!

I wrote a post about painting the fireplace, which you can read here

For the mantle, we wanted to install a rustic barn beam, and would you believe we actually had this one given to us?! We were so thrilled with it, as it was exactly what we were looking for!


It needed to be trimmed a bit to fit the space between the bricks, and Carl and his friend Brad spent some time brainstorming how to hang it without any visible hardware showing. They came up with this design...


They cut a slice in the back for the rail to then sit flat along the back


This mantel actually came with the back and top marked for us!

Then Carl used an impact or hammer drill to install the anchors and screws into the brick


This was the scene behind Carl while he was drilling!


They're so funny about noise!

Here are all 5 holes drilled


This was the how the bolt looked in the brick


Next, Carl leveled the rail and secured it with the screws


While he was working on the rail, the mantle was being used as a roadway...


It's a difficult choice to work with the kids around, but the alternative is to work on things while they're asleep at night, which is impossible because the tools are too noisy. So, I balance the kids and the camera (semi-well) while Carl tackles the project. It doesn't always work smoothly!

Now, the beam was ready to be mounted


It fit like a glove, and then I held the mantle while Carl screwed bolts from the top down into the holes of the rail


It's on my to-do list to tackle the fresh cut areas of the beam, to weather them a bit to look more uniform. Apparently I can take muddy water and scrub the areas to colour them. Someday...


Here was the finished mantle that evening


I had a lot of fun decorating it for Thanksgiving!

The bunting was one of my Pinterest DIY projects that I pinned years ago! You can find it on this blog, Simple As That. I'm really happy with how it turned out, and it was a quick and easy afternoon project using leaves from our backyard


And again, how it looks today!

Living Room Reveal

10 September 2015


Living Room Reveal

It's been a while since my last blog post, so it's time for an update! Today I'd like to take you on a tour of my living room.

I don't have pictures of the process, but today I wanted to share a few pictures of where we are so far. This was the first time I've ever put a room together starting with nothing, and it was more challenging than I thought!

Since it's everyone's favourite part to view, here's a before and after of our living room...


This room stood empty all winter...literally! It was a toddler haven for spinning, running in circles, and playing. Once the basement was cleaned up, we moved all of the toys downstairs and my living room started coming together.

In our previous home we only had one living space. In this house, we have a main floor family room and a living room. So our one set of furniture went in the family room and we've pulled together new items for our living room over the past 8 months.

I started with the rug, and bought the Shay Jute rug from Pier 1 last winter. It's braided so it's actually quite soft, and so far it's held up really well; I also really love the texture and look of a natural rug. This room is not a large space - the rug is an 8x10 size and fits the room perfectly.

Next, I found a great set of French bergere chairs on Kijiji. The original owner told me he paid $1200 a piece, and I got the pair for $550 total! For the size and quality of these chairs, it was a very good deal. I'm very picky with second-hand items, but these came from a gorgeous home - it was clear they were more ornamental and probably rarely used.


The upholstery is still in fabulous condition, although for style reasons I'd like to eventually reupholster them.

In April I hosted a shower for my sister-in-law, and that gave us the push to purchase a couch. I looked for a very long time, but the deadline of a party gave me the motivation to select one! We decided on the Chateau D'Ax Marano from Sears. Leather is just so very practical with a young family, and we wanted a 3-seater couch, without any recliners, and that was comfortable. This couch has fit all points perfectly and I have no regrets about the purchase!

And yes, the shower was successful because of the couch!


The pallet sign was a Christmas gift my sister made for me a few years ago. She's also a fellow blogger and DIYer over at Repurposed Gems

Now, for my very favourite project, the drapes!

This weekend Carl gave me the very best gift of time ever - he and the MiniMen spent the weekend at the cottage and left me home alone. In my nest, with complete silence, and no interruptions! I highly recommend a weekend like this - it was one of the most refreshing times I've had since becoming a mom!

While I was tempted to be distracted by all of the little things in my nest needing attention, I devoted almost all of my time to sewing these drapes.

I purchased the fabric through JoAnn's online, and selected the Swavelle Millcreek line, in the pattern Perdido Paramount Graphite This fabric is the perfect weight for drapes, it's soil and stain resistant, and is the perfect complement to my neutral walls painted in Benjamin Moore's Revere Pewter. It was so nice to work with!

I've made drapes before, but this time I did some research and decided to try a more professional style of pinch pleats. I followed Kristi's instructions over at Addicted2Decorating and am thrilled with the results!


The drapes are fully lined, and the back is so neat and tidy!


When the drapes are closed, it looks like a hotel room!


I just love the style and elegance of pinch pleated drapes, and these were well worth the time and effort. 

I'm not totally sure if there is a specific style to my living room, but it's definitely "us". It's neutral, elegant yet practical, and inviting. There's still more to add - I'd like a plant in the corner, and maybe some more artwork for the walls, some lamps, and some more accent pillows. But, these are things that can be added over time.

For now, I'm enjoying this space immensely!

Powder Bathroom Reveal

5 May 2015


Powder Bathroom Reveal

It's been a while since my last post!

Many of you have been asking about other projects, and yes, we are still working on things!

One of our bigger projects in February was finishing the powder bathroom, and I'm happy to share with you that we're really pleased with how it turned out. I've been anticipating this reveal as it's probably one of my favourites.

I've had visions of how different rooms would turn out, and some have turned out slightly differently than I had imagined. But the powder bathroom is truly the bathroom of my dreams!

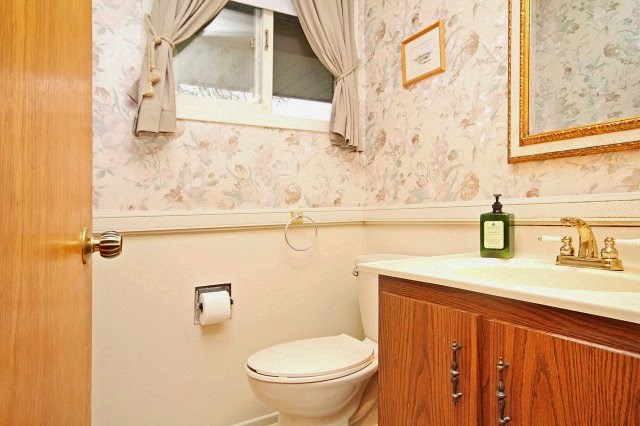
Let's start with a "before" picture, so that you get the full picture...


Oh that glorious 80s wallpaper!

The first weekend we had at the house, one of the projects I tackled was the wallpaper. Here's an instagram shot that I took that day


While we renovated the rest of the house, this bathroom stayed in a functional state. I can't believe I don't have a picture of it, but this bathroom was fully demo'd except for the toilet. That way all of us working at the house had a functional bathroom to use.

But it was primitive. There was a door and a toilet, but everything else was removed. Plywood subfloor, no trim, no vanity. We used the laundry tub around the corner to wash our hands!

Once the upstairs bathrooms were functional we took out the powder bathroom toilet, and the empty room became our tool closet!

It actually remained a tool closet until February. That's embarrassing...

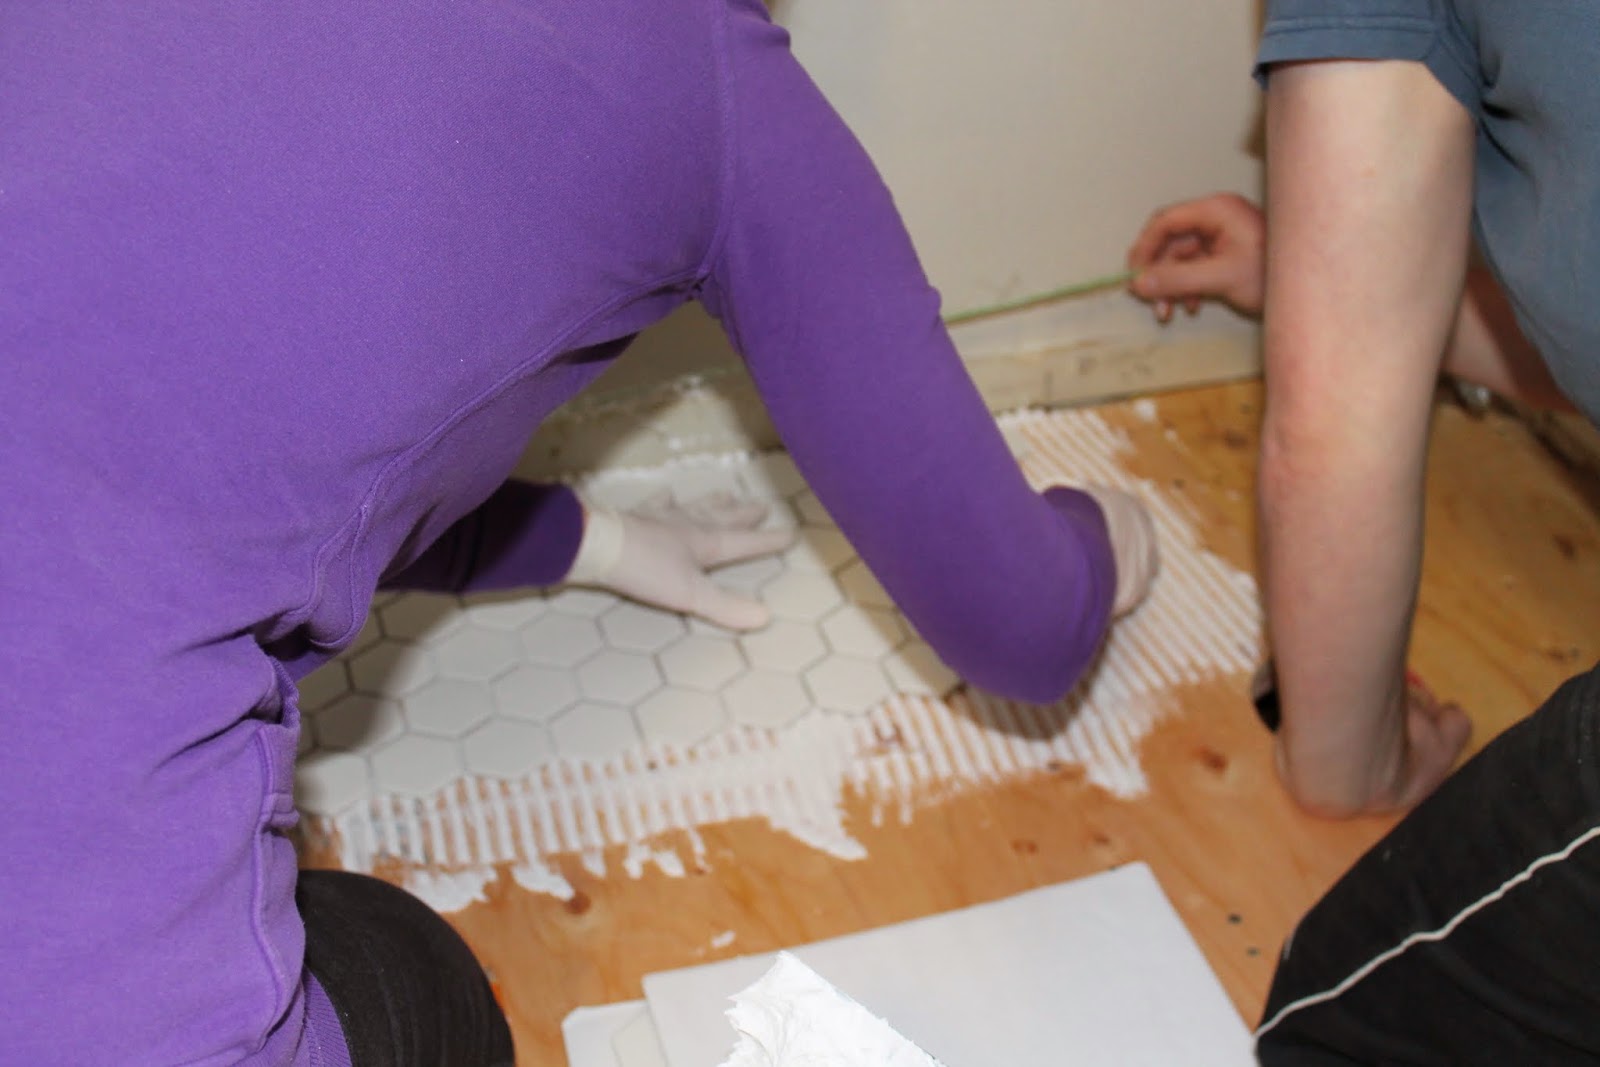
Anyways, in February we finally had the time and cash to tackle this last bathroom. My brother and his girlfriend came up for a weekend visit and I successfully managed to convince them to help me with the tile!


I was so excited to tackle this job with my brother.

However, we got about this far when I had a bit of an accident...


I fainted. Between the small space, the up-and-down nature of tiling, and my ever-low iron levels, I fell face-first onto the subfloor. Thankfully, I hit the subfloor between the freshly laid tile and the pipes sticking out from the wall for the sink. It could've been much worse for both me and the tile!

Needless to say, my day of tiling came to a halt.

However, my brother's girlfriend came to the rescue and helped my brother complete the job!

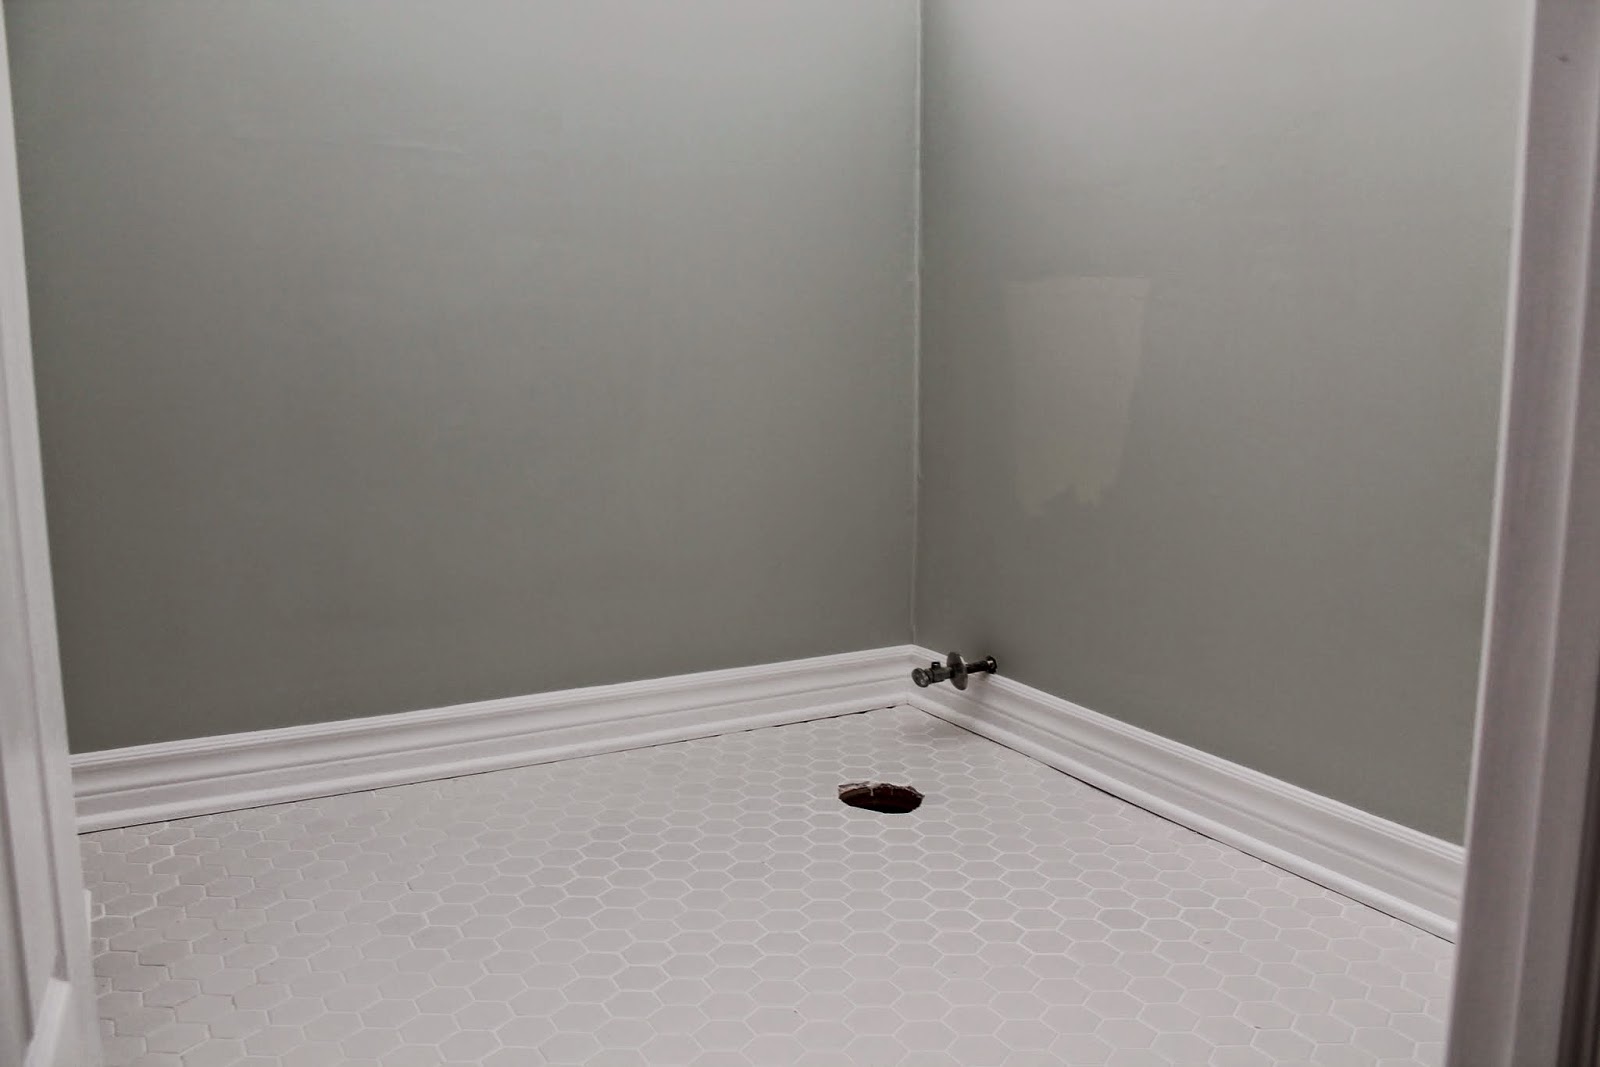
A few days later we grouted the tile with a white, unsanded grout


I just LOVE my white porcelain hexagon tiles! We actually ordered them from Home Depot in the US, and they can be found on their website here


After the tiling was completed, the trim and painting was done.

I'm not a great photographer, and it's hard to capture paint colours, but the colour I chose for the bathroom was Sherwin Williams' "Sea Salt". A very popular colour, and I'm so pleased with it - it's the perfect shade.

The rest of the finishes came together quite quickly...

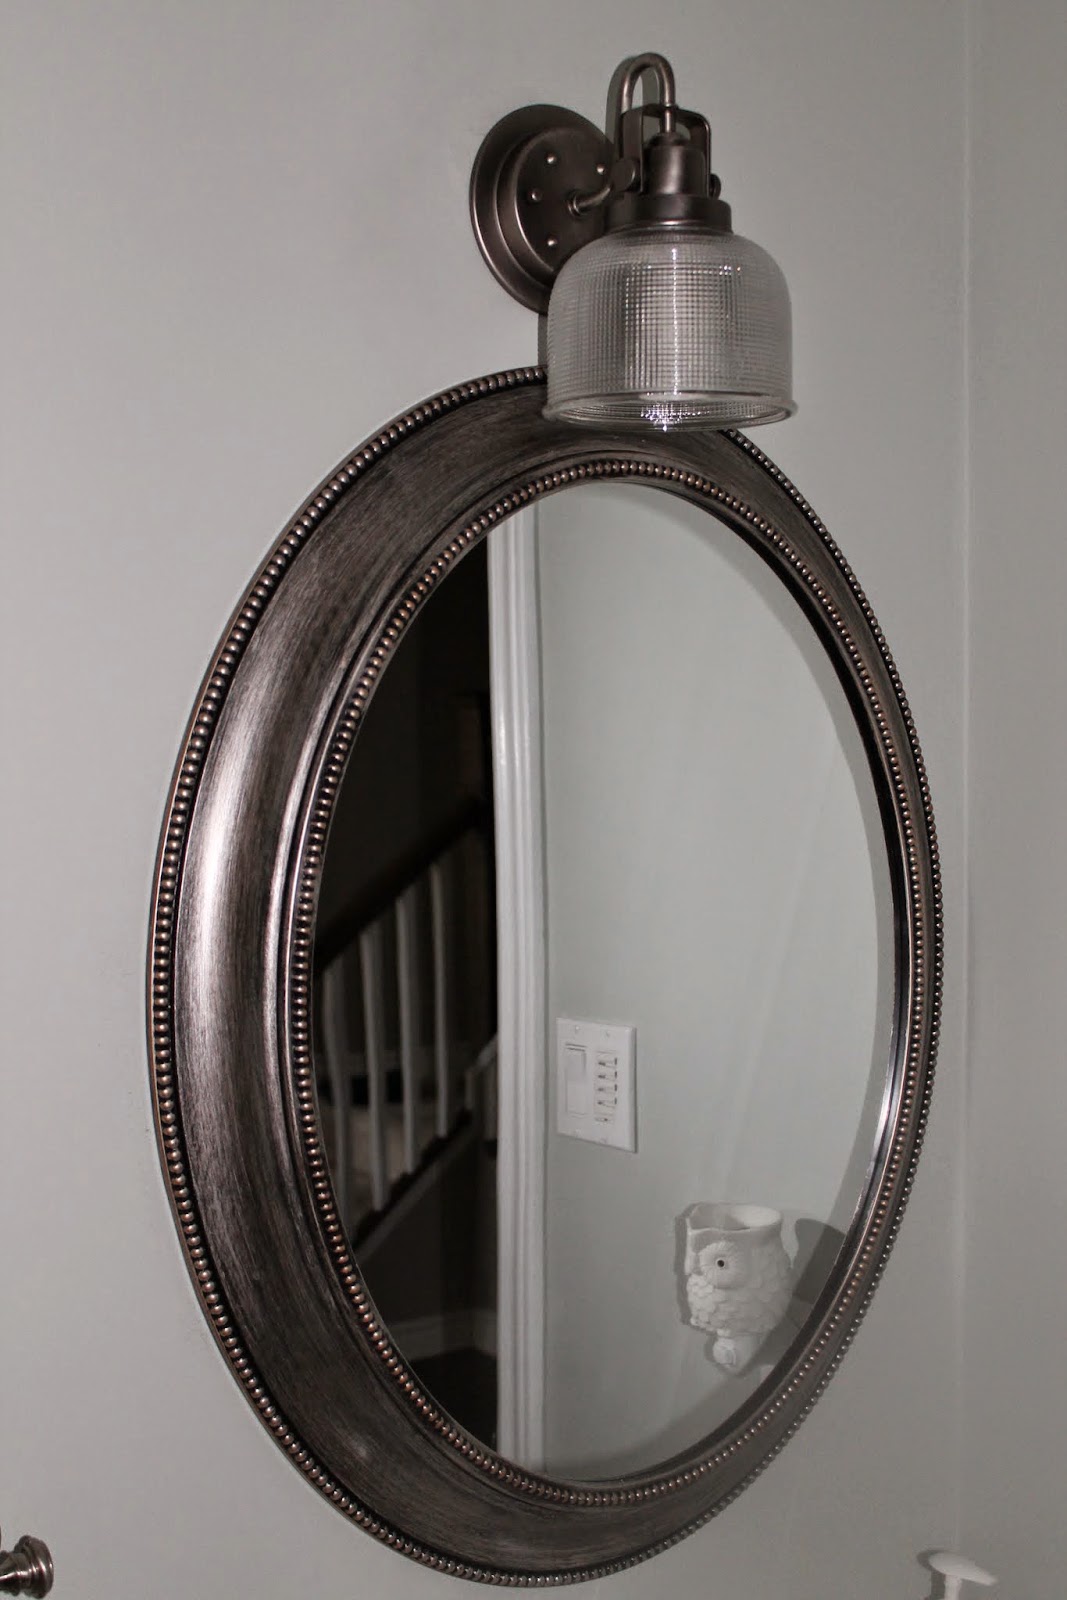
This mirror came from HomeSense, and the light fixture was from HomeDepot


A fun element is this nightlight from Scentsy


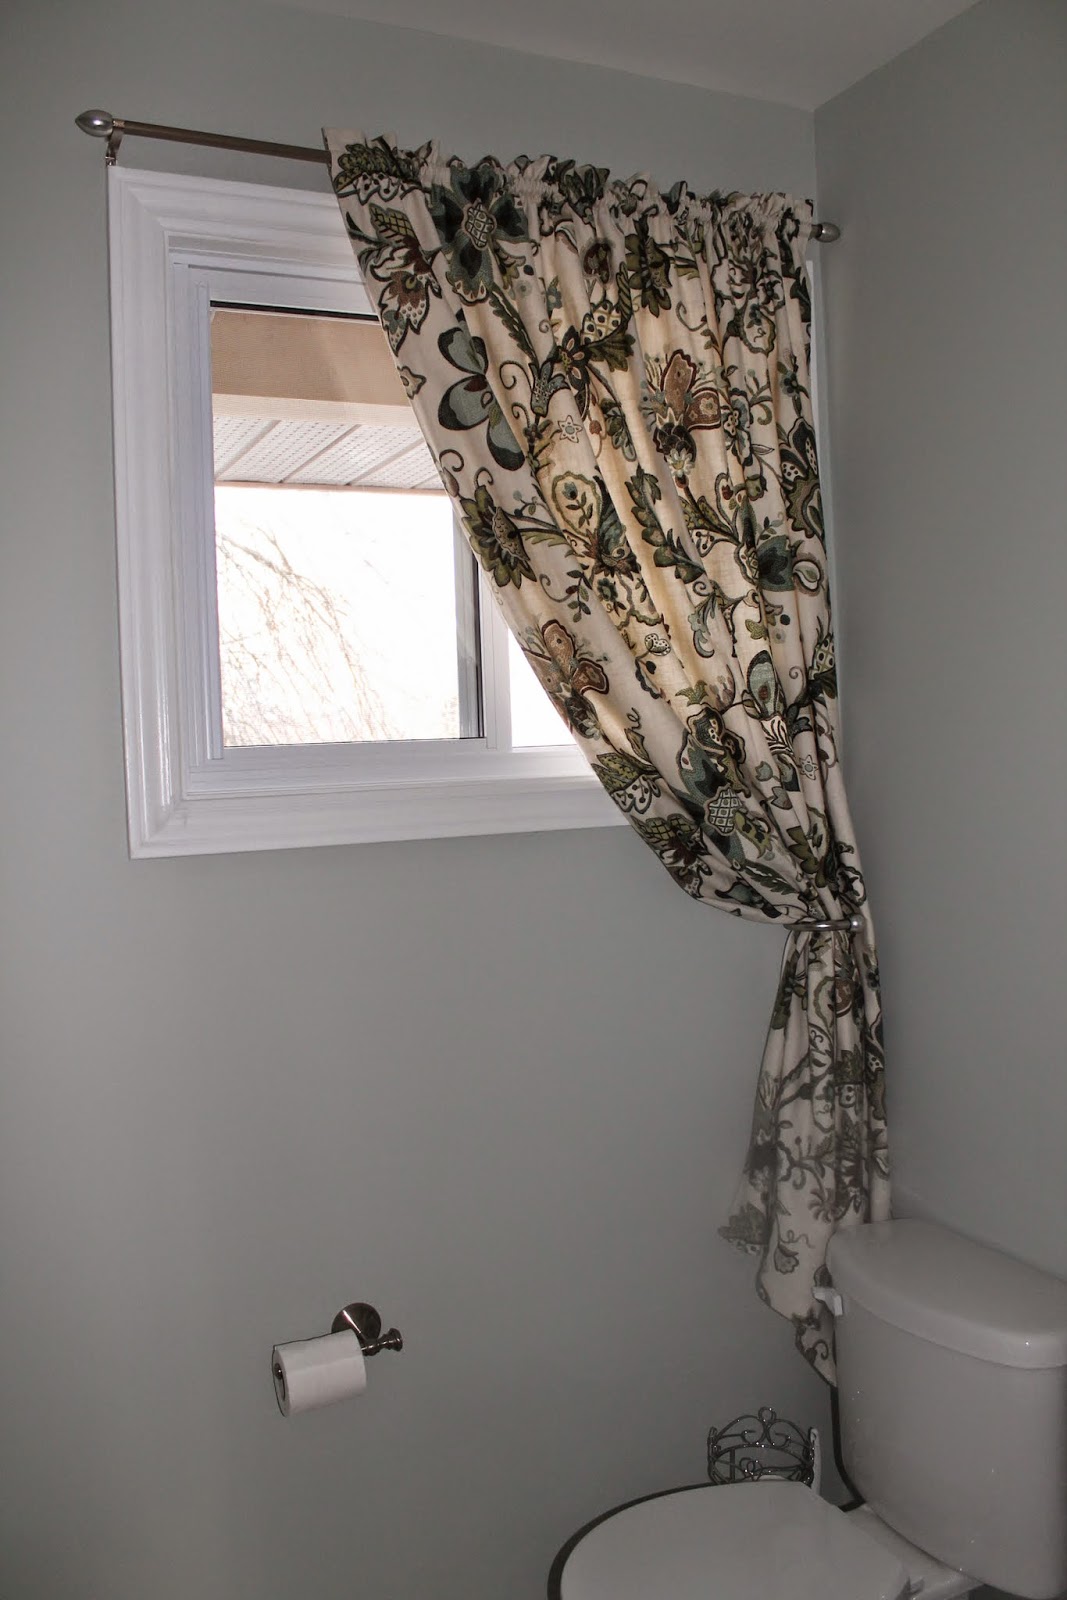
The pedestal sink was a kijiji find! I like pedestal sinks in powder bathrooms as they're small spaces to begin with. This sink allows for more floor tile to be showcased!


The faucet was actually the only original fixture that we kept!


And my very favourite drapes that I made for our last house, and took along with me.

The fabric is  Garden Crewel in Sea Glass by P. Kauffman


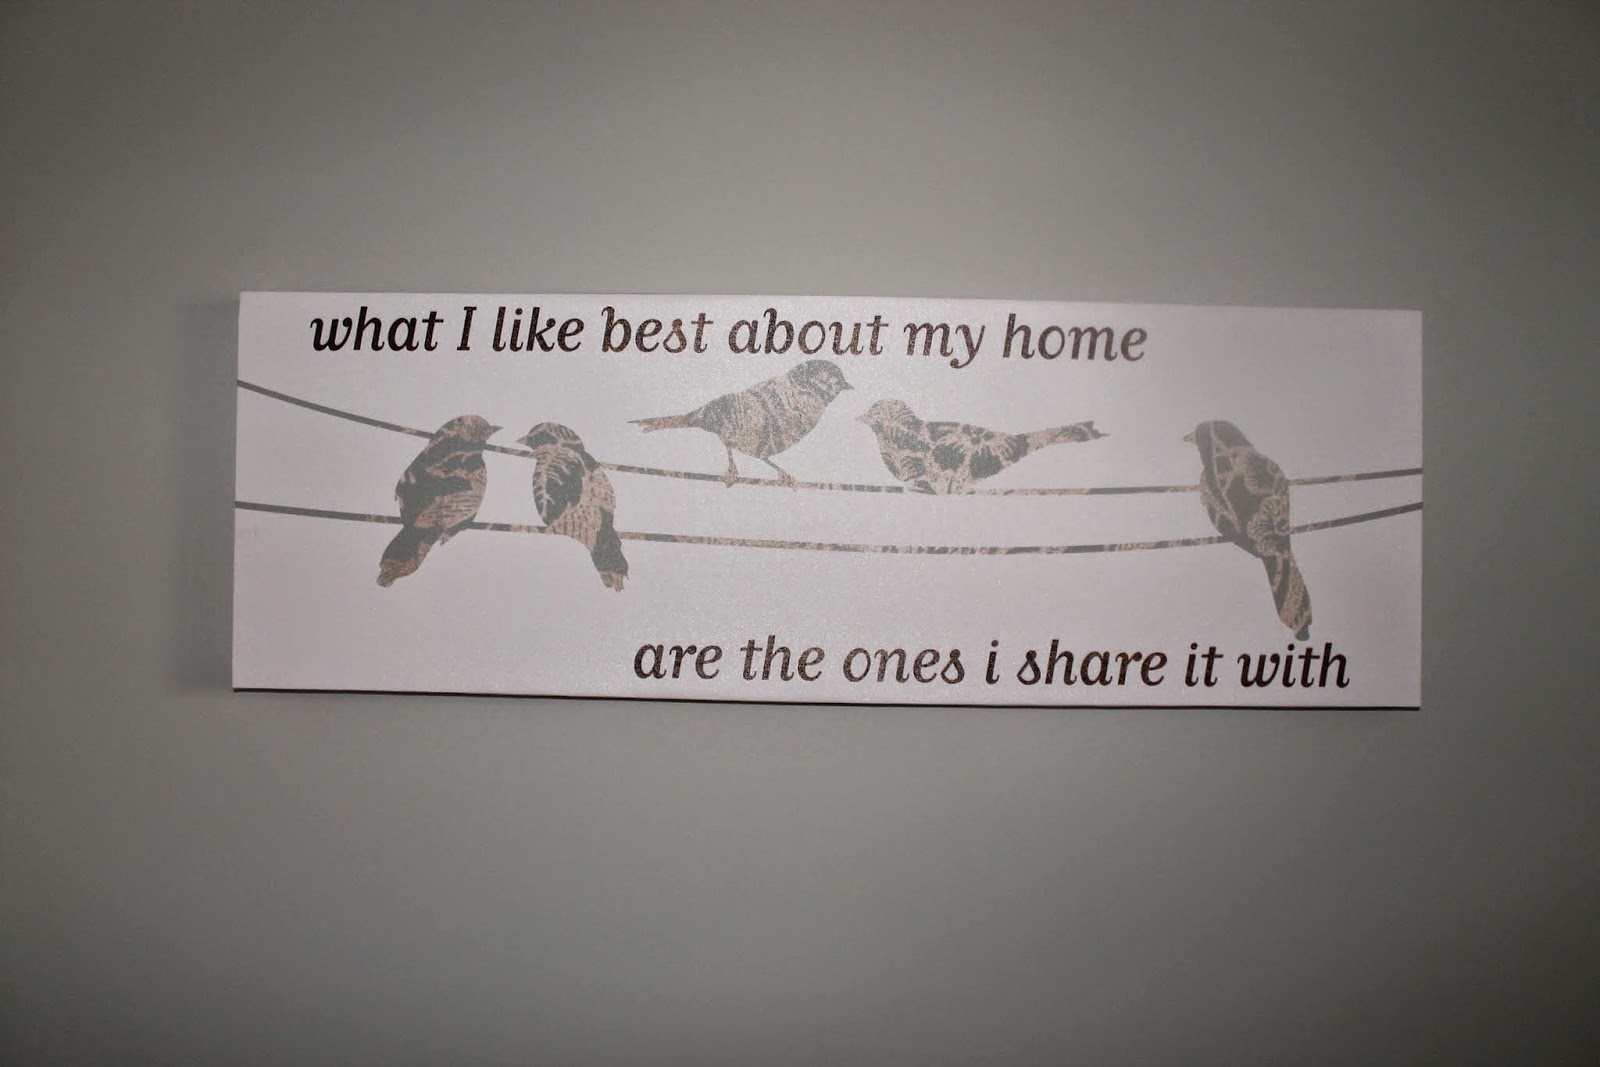
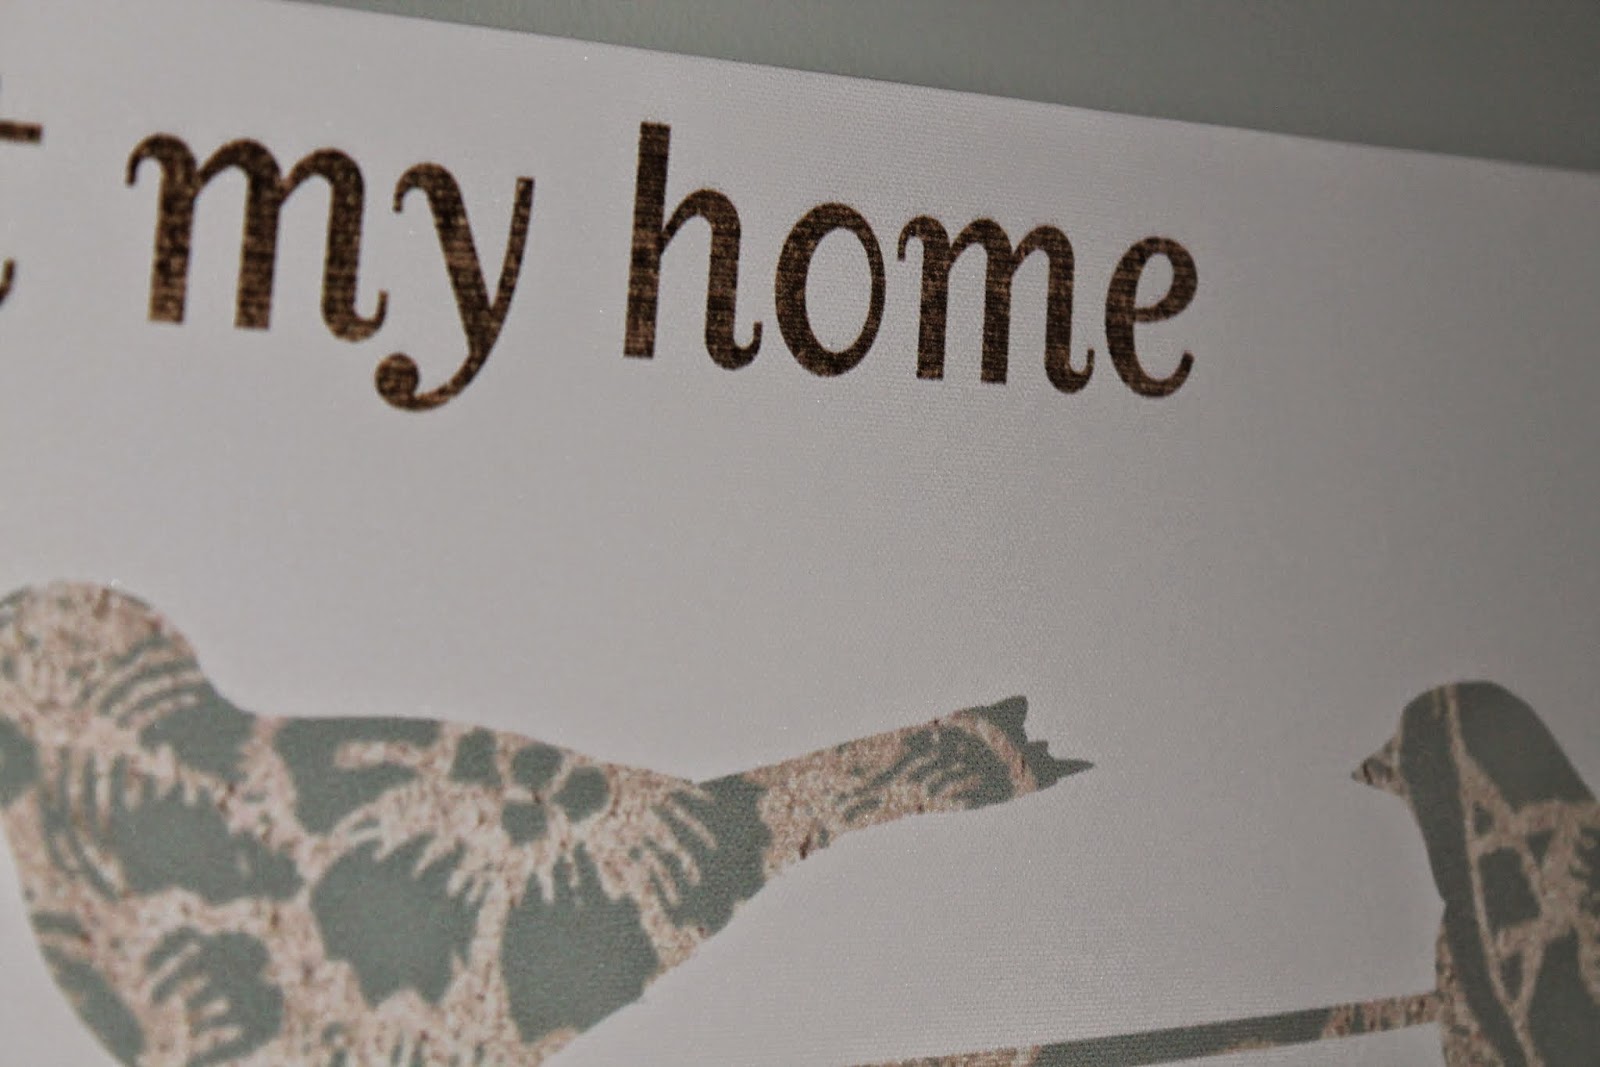
And a fun art piece that I found at HomeSense

Indeed, my home...


Thanks for letting me share this project with you!

Alicia